Blockout
✕ Close
Screenshot 3 of 4 · Genre: PUZZLE · Developer: Logical Design Works · Released: 1991
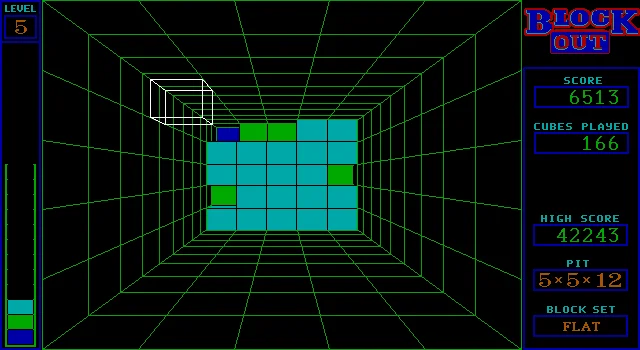
Blockout, is a 3D puzzle game developed by California Dreams and released in 1991. The game offers a fresh and challenging twist on the classic Tetris formula by introducing a three-dimensional playing field. Players must rotate and manipulate variously shaped blocks in all three dimensions to fit them into a pit, viewed from above.
As blocks descend into the pit, the goal is to fill layers completely, which then disappear, similar to Tetris. The game requires spatial awareness and strategic thinking, as players need to visualize how each block will fit into the grid from multiple angles. The difficulty increases as the game progresses, with more complex block shapes and faster speeds.
"Blockout" is celebrated for its innovative approach to the puzzle genre, offering a deeper and more cerebral experience than its 2D counterparts. The game’s minimalist graphics and smooth controls complement its challenging gameplay, making it a standout title in the early 1990s. "Blockout" remains a favorite among puzzle enthusiasts for its unique take on a classic concept, requiring both quick reflexes and advanced problem-solving skills.
Play Blockout online for free on OldSchoolGames.