Powermonger
✕ Close
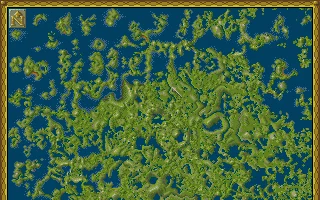
Screenshot 3 of 4 · Genre: STRATEGY · Developer: Bullfrog Productions · Released: 1990
Powermonger, released in 1990 by Bullfrog Productions, is a real-time strategy game that challenges players to conquer a living, breathing world through cunning, diplomacy, and military might. Set in a medieval-style landscape of towns, villages, and shifting alliances, the goal is to expand your territory and overthrow rival leaders to become the ultimate ruler.
The game features a dynamic world populated by independent citizens who farm, trade, and fight according to changing seasons and resources. Players command armies, forge alliances, and manage supplies while adapting to weather patterns and the behaviors of both allies and enemies. Every decision—whether to negotiate or invade—affects the balance of power across the map.
Praised for its innovative AI and open-ended gameplay, Powermonger offered a level of strategic depth and world simulation rarely seen in early 1990s games. Its blend of tactical combat and emergent world-building helped establish Bullfrog’s reputation for ambitious, genre-defining strategy titles.
Play Powermonger online for free on OldSchoolGames.